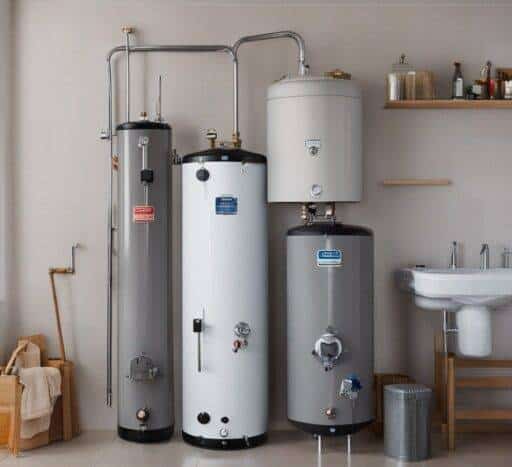
Why Should I Insulate My Hot Water Cylinder?
Before we get into how you insulate your hot water cylinder, you should understand why you should. What’s the point of doing this? Is it worth the trouble?
The main reason why everyone in New Zealand should properly insulate their water heater cylinders is that it can prevent energy loss. Less energy loss means less energy used to compensate for that loss, which means less money spent on using that energy.
You will need to purchase supplies for your hot water cylinder wrap insulation and your pipes if you want to take an extra step for even more heat retention and energy savings, but that money will help you save more in the future.
How Can I Insulate My Hot Water Cylinder Myself?
Are you ready to start saving some money and energy? The supplies you need may vary depending on your circumstances, but some general supplies you might need are:
A Water Heater Insulation Blanket. You should be able to find good water heater insulation blankets and kits at your local hardware store. Choose a blanket that’s an appropriate size for your water heater. Don’t worry about exact measurements for now; you can trim your blanket later.
Scissors. Chances are, your new insulation blanket won’t be exactly the same size as your water heater, so you may need to trim it to fit properly.
A Measurer. A tape measurer will help you measure your supplies and water heater.
Gloves. Protect your hands and handle your supplies well.
Tape. If you purchase a hot water cylinder insulation blanket kit, it may come with tape.
A Friend Or Family Member To Help. You may want to ask someone for help so that you can get the job done correctly.
(Optional) Pipe Insulation. Insulating your pipes, as well as your water heater cylinder, can prevent even more heat loss.
What do you do once you’ve gathered all the required supplies? Now’s the time for the actual work to begin. Please read through all of these steps before you start to do anything so you fully know what you’ll need to do.
To insulate your hot water cylinder, you should:
Step 1. Turn Off Your Water Heater. Before installing any hot water cylinder wrap insulation, always turn off your water heater and let it cool down before you handle it. Trying to handle a heated-up fixture can be dangerous.
Step 2. Measure Your Water Heater. Measure your water heater’s height and circumference so you know how big the insulation blanket needs to be to fully cover and insulate it.
Step 3. Trim Your Insulation Blanket If Necessary. If your insulation blanket is too large, you should trim it so that it fits your water heater cylinder better. A blanket that’s too large can be a bit awkward to try and wrap your water heater with.
Remember to measure twice or thrice to avoid trimming too much blanket off.
Step 4. Put Your Blanket Around The Water Heater. Wrap your blanket around your water heater and see how it fits. Cut any extra blanket off if necessary. Check where you’ll need to cut in the blanket to give you access to any controls on the water heater.
If you don’t cut any holes for controls, you’ll need to take the hot water cylinder insulation blanket off completely every time you need to use them, which is very inconvenient.
Step 5. Cut Out Any Necessary Holes In The Blanket. When you know where to cut, cut out any holes to make access points for the water heater.
Step 6. Install Your Insulation Blanket. After your blanket is cut and ready, you can install it by wrapping it correctly around your water heater and securely taping it in place.
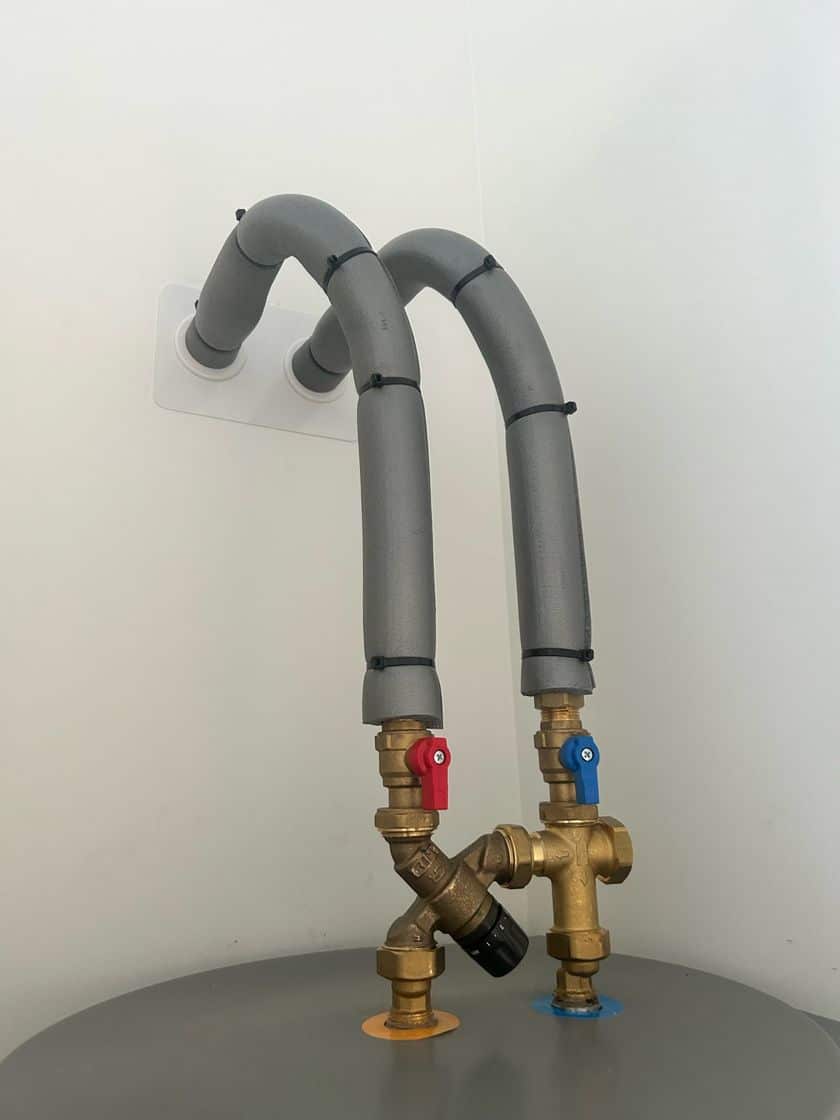
Step 7. (Optional) Insulate Your Pipes. Are you planning on taking this extra step to save more energy and money? Use your pipe insulation to wrap and insulate the pipes around your water heater.
Step 8. Turn Your Water Heater Back On And Enjoy Your Savings. Once everything is insulated and secure, it’s time to turn your hot water heater back on! Enjoy all of the wonderful savings, and happily know you’re doing your part to prevent heat and energy waste.
You’ll be thrilled to know that this straightforward, easy-to-do hot water cylinder insulation job can reduce heat loss from your tank by as much as 45%.
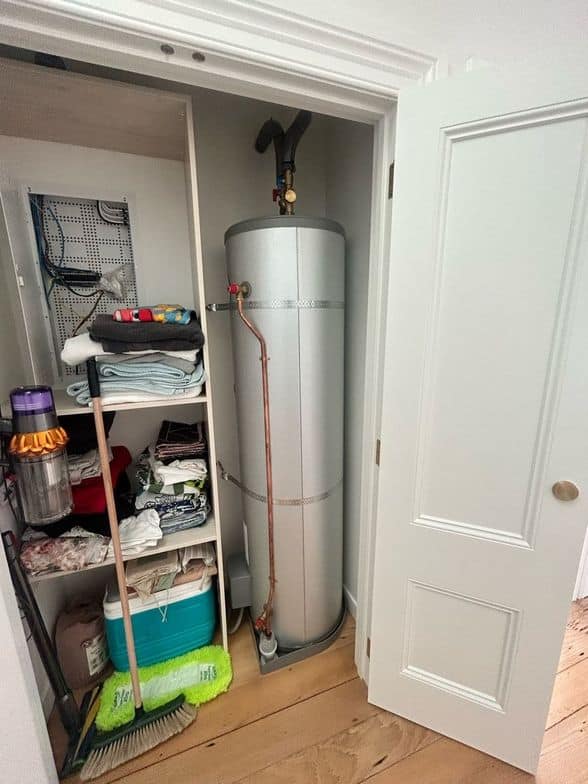
The Disadvantages Of Electric Water Heating Systems That You Should Know About
Electric hot water cylinders have many incredible perks, and you’ll most likely benefit from all of them. Still, there are some disadvantages that you should be aware of.
Most people feel that the pros heavily weigh out the cons in this situation, but it’s still smart to be aware of these negative qualities. You can think about these disadvantages and compare them to the advantages listed above:
They’re Slower To Heat Than Gas Hot Water Heaters. Even though they’re wonderfully efficient and will use electricity well, electric water heaters tend to be a bit slower than their gas counterparts. How quickly your water heater heats water will depend on the model you purchase.
They Have Higher Operating Costs. Electric water heaters tend to have higher operating costs despite their cheaper upfront costs. How much your operating costs are on average will depend on the water heater you purchase and how much water you use.
Please note that there are easy, everyday things you can do to lower your hot water usage, regardless of what type of water heating system you use. Think about making a conscious effort to only use hot water when you absolutely need it.
They Won’t Work During Power Outages. Electric hot water cylinders need electricity to function, so if a power outage occurs, you won’t be able to use it until power returns to your home.
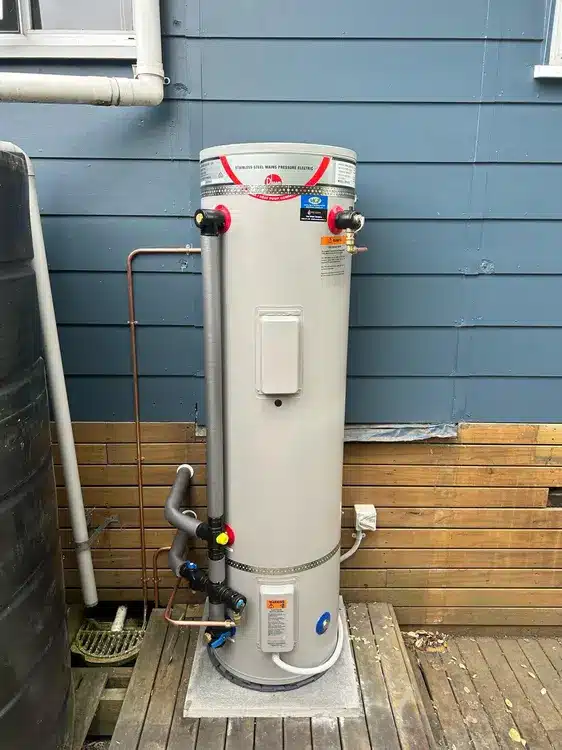
Where Can I Learn More About My Hot Water Options In New Zealand?
Would you like to save even more money on your water heating bills? By purchasing a new water heater that’s designed to be energy efficient and having it maintained regularly, you can enjoy hot water every day while being smart with your energy usage – and at Hot Water Solutions, we want to help you do just that. We provide New Zealanders just like you with excellent water heating services.
We’d love to do our part to help you live a happier, more comfortable life. Please call us at 0800497658 to reach us or contact us through our website.
At Hot Water Solutions, all we do is hot water, and we can provide you with the best hot water products and services in New Zealand!