What Any Homeowner Can Do To Change Their Water Pressure
The actual process of making a water pressure valve adjustment is very straightforward and really only involves you finding the right place to adjust, adjusting it correctly and then checking your water pressure.
Follow these easy steps to increase or decrease your home’s water pressure levels:
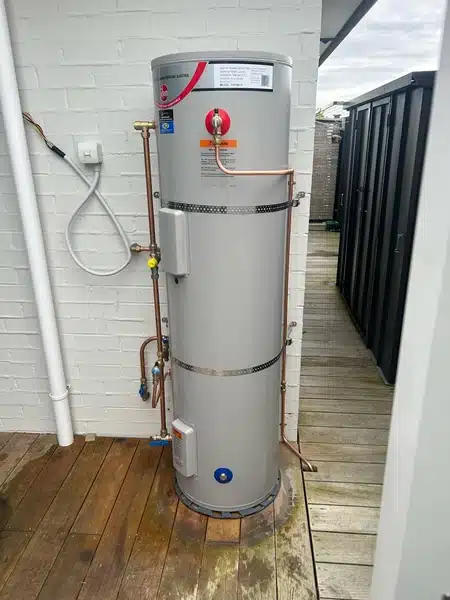
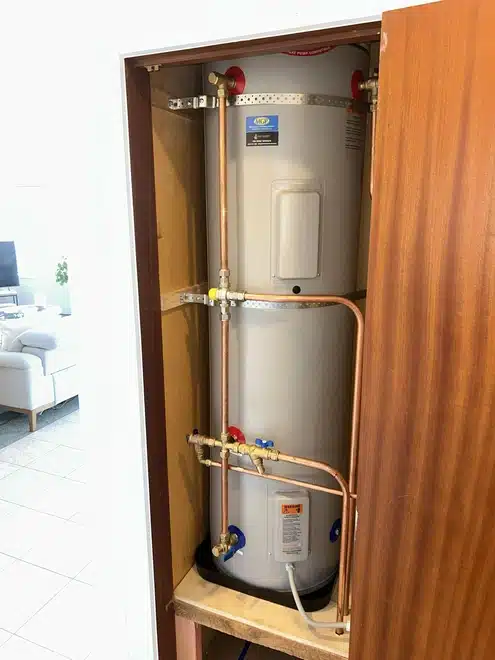
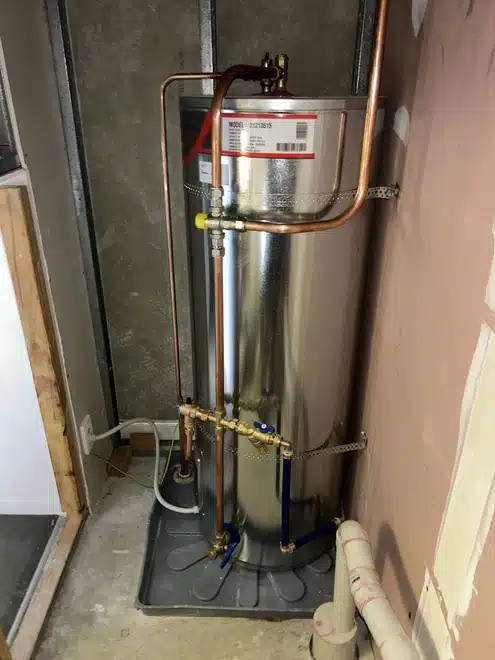
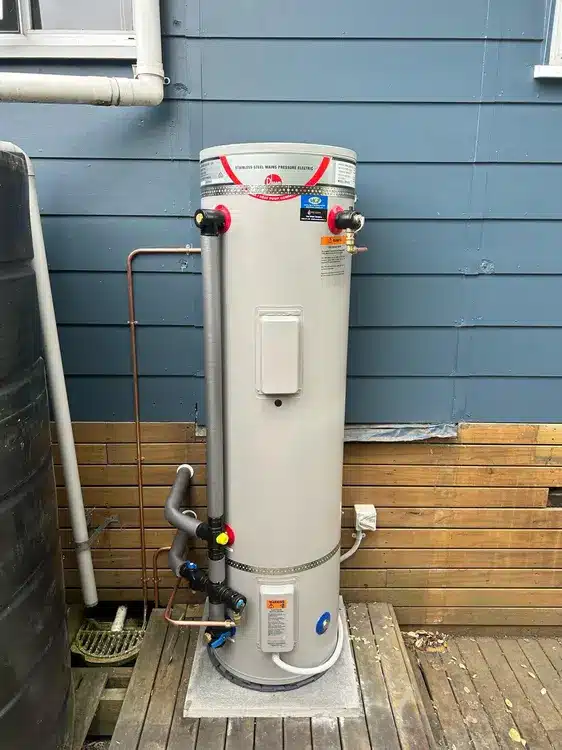
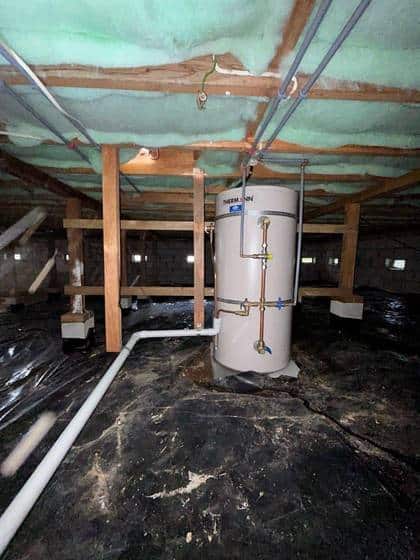
Step 1: Find Your Water Pressure Valve. Locate the water pressure valve in your home. This is usually located in your basement or crawlspace, potentially near where your home’s water heater is.
Once you’ve found it, check the recommended water pressure level, which is usually present on the side of the water pressure valve. Note this number down.
Step 2: Check Your Home’s Current Water Pressure. Before you make any adjustments, check your home’s current water pressure to see where you’re at. You can use a handy water pressure gauge to do so. If you don’t currently own a water pressure gauge, you can easily purchase one online or by visiting your local hardware store.
Attach your water pressure gauge to a threaded faucet, like an outdoor faucet, and let the water run for 30 seconds. Note down your home’s current water pressure.
Step 3: Loosen The Locknut On Your Water Pressure Valve. Return to your water pressure valve. Loosen the locknut on the top of the device using a wrench to gain access to the adjusting bolt for your water pressure valve adjustment.
Step 4: Increase Or Decrease Your Water Pressure. Now’s the time for the actual adjustment to take place. Use your wrench to securely hold the adjustment bolt and twist it to change your water pressure.
Going clockwise will increase the pressure, and going counterclockwise will lower it. We recommend that you do this gradually and not go too far too fast.
Step 5: Check Your New Water Pressure. When you’ve made your adjustment, don’t tighten the locknut on your valve just yet – go and check your home’s water pressure again to see the new pressure levels.
If it is not to your liking, you can go back and readjust. Try to keep your water pressure around the recommended level that is on the side of your water pressure valve.
Step 6: Tighten The Locknut On Your Water Pressure Valve. Are you satisfied with your water pressure valve adjustment? Good! Now you can go and tighten the locknut on your water pressure valve to return it to its original condition.
Congratulations! You’ve just successfully adjusted your home’s water pressure.
Step 7: Call A Professional If You Need To. Are you still unsatisfied with your home’s water pressure, even after adjusting it yourself? No worries, the road doesn’t end here – call a professional to come and help you out. They’ll certainly be able to resolve your water pressure issues.
Old water pressure valves can become less effective over time. If yours is very old, you may want to have a plumber look at it to let you know what you should do.
Are You Experiencing Water Pressure Problems?
If you are experiencing sudden water pressure problems, the answer to your issue may not be to perform a water pressure valve adjustment. Sudden problems with water pressure may be caused by things that don’t relate to your home’s water pressure valve.
Instead, sudden water pressure issues may be caused by:
Partially Closed Main Water Valve. The most common reason why people face sudden low water pressure is a partially closed main water valve. Make sure your valve is completely open to remedy this issue.
Clogged Pipes. If only one of your faucets has low water pressure, your faucet or your pipes could be clogged. Take the right steps to remove the obstruction.
Water Work Being Done. Your water pressure may lower if work is being done on the local water lines. If this is the case, resolving the problem is easy – just wait! Your water pressure should return to normal soon after the work is completed.
If you’re experiencing sudden water pressure problems that won’t be fixed by adjusting your pressure valve, you should contact a professional to help discover and fix the issue.
Why Alter Your Home's Water Pressure?
So, why would someone want to alter their home’s water pressure with a water pressure valve adjustment?
People usually do this based on personal preference. Low water pressure can make it hard to use your water faucets the way you want, and a low-pressure shower may not be as comfortable for you when compared to a standard shower.
There are safety reasons as well. Water pressure that’s too high can be dangerous because extreme water pressure can lead to leaking pipes and even explosions.
Need Some Help? Call Us Now!
We’re here for you no matter what you need regarding your home’s hot water! At Hot Water Solutions, hot water is all we do, and we’d be happy to help you readjust your water pressure or offer you any of our other helpful services.
Our expert team can speak to you over the phone or through our email or online web form. Please visit our site to get in touch, we’d love to chat! Call us today at 0800497658 to reach us or contact us through our website.
We can speak with you to figure out what you need from us, what’s the issue in your home or to help you find amazing hot water products for your household. Need help with your home’s water heating system? Hot Water Solutions is the place to call!